

Why Upstash Realtime?
- 🧨 Clean APIs & first-class TypeScript support
- ⚡ Extremely fast, zero dependencies, 2.6kB gzipped
- 💻 Deploy anywhere: Vercel, Netlify, etc.
- 💎 100% type-safe with zod 4 or zod mini
- ⏱️ Built-in message histories
- 🔌 Automatic connection management w/ delivery guarantee
- 🔋 Built-in middleware and authentication helpers
- 📶 100% HTTP-based: Redis streams & SSE
Quickstart
1. Installation
2. Configure Upstash Redis
Upstash Realtime is powered by Redis Streams. Grab your credentials from the Upstash Console.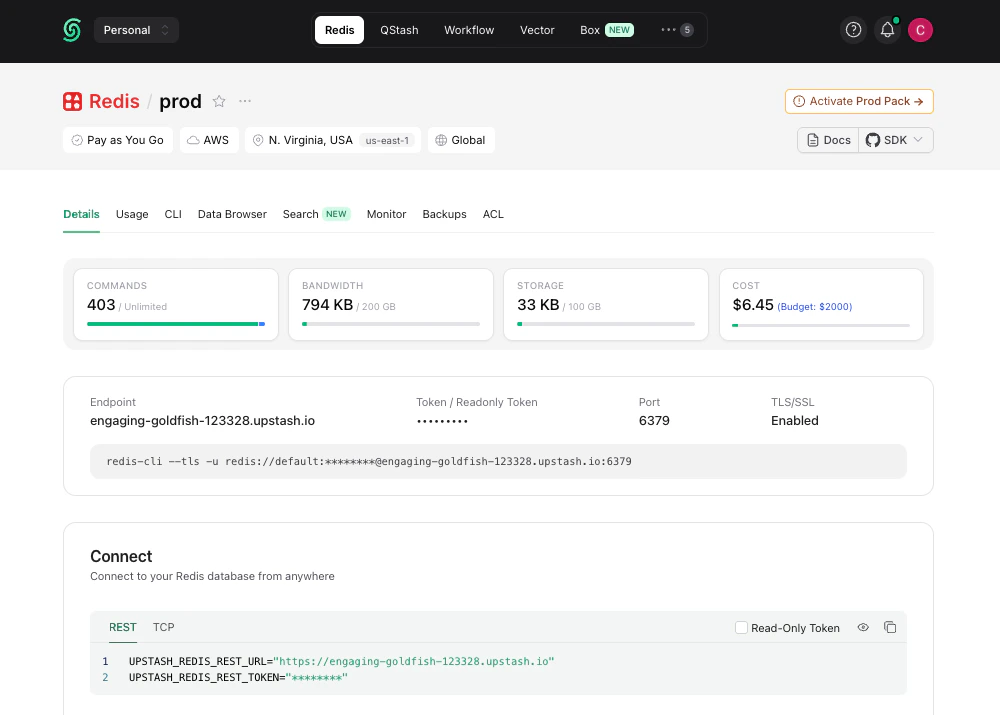
.env
lib/redis.ts
3. Define Event Schema
Define the structure of realtime events in your app:lib/realtime.ts
4. Create Realtime Route Handler
Create a route handler atapi/realtime/route.ts:
app/api/realtime/route.ts
5. Add the Provider
Wrap your application inRealtimeProvider:
app/providers.tsx
app/layout.tsx
6. Create Typed Client Hook
Create a typeduseRealtime hook for your client components:
lib/realtime-client.ts
7. Emit Events
From any server component, server action, or API route:app/api/notify/route.ts
8. Subscribe to Events
In any client component:app/components/notifications.tsx
9. Realtime Dashboard
For debugging or monitoring purposes, you can use Realtime Dashboard in console.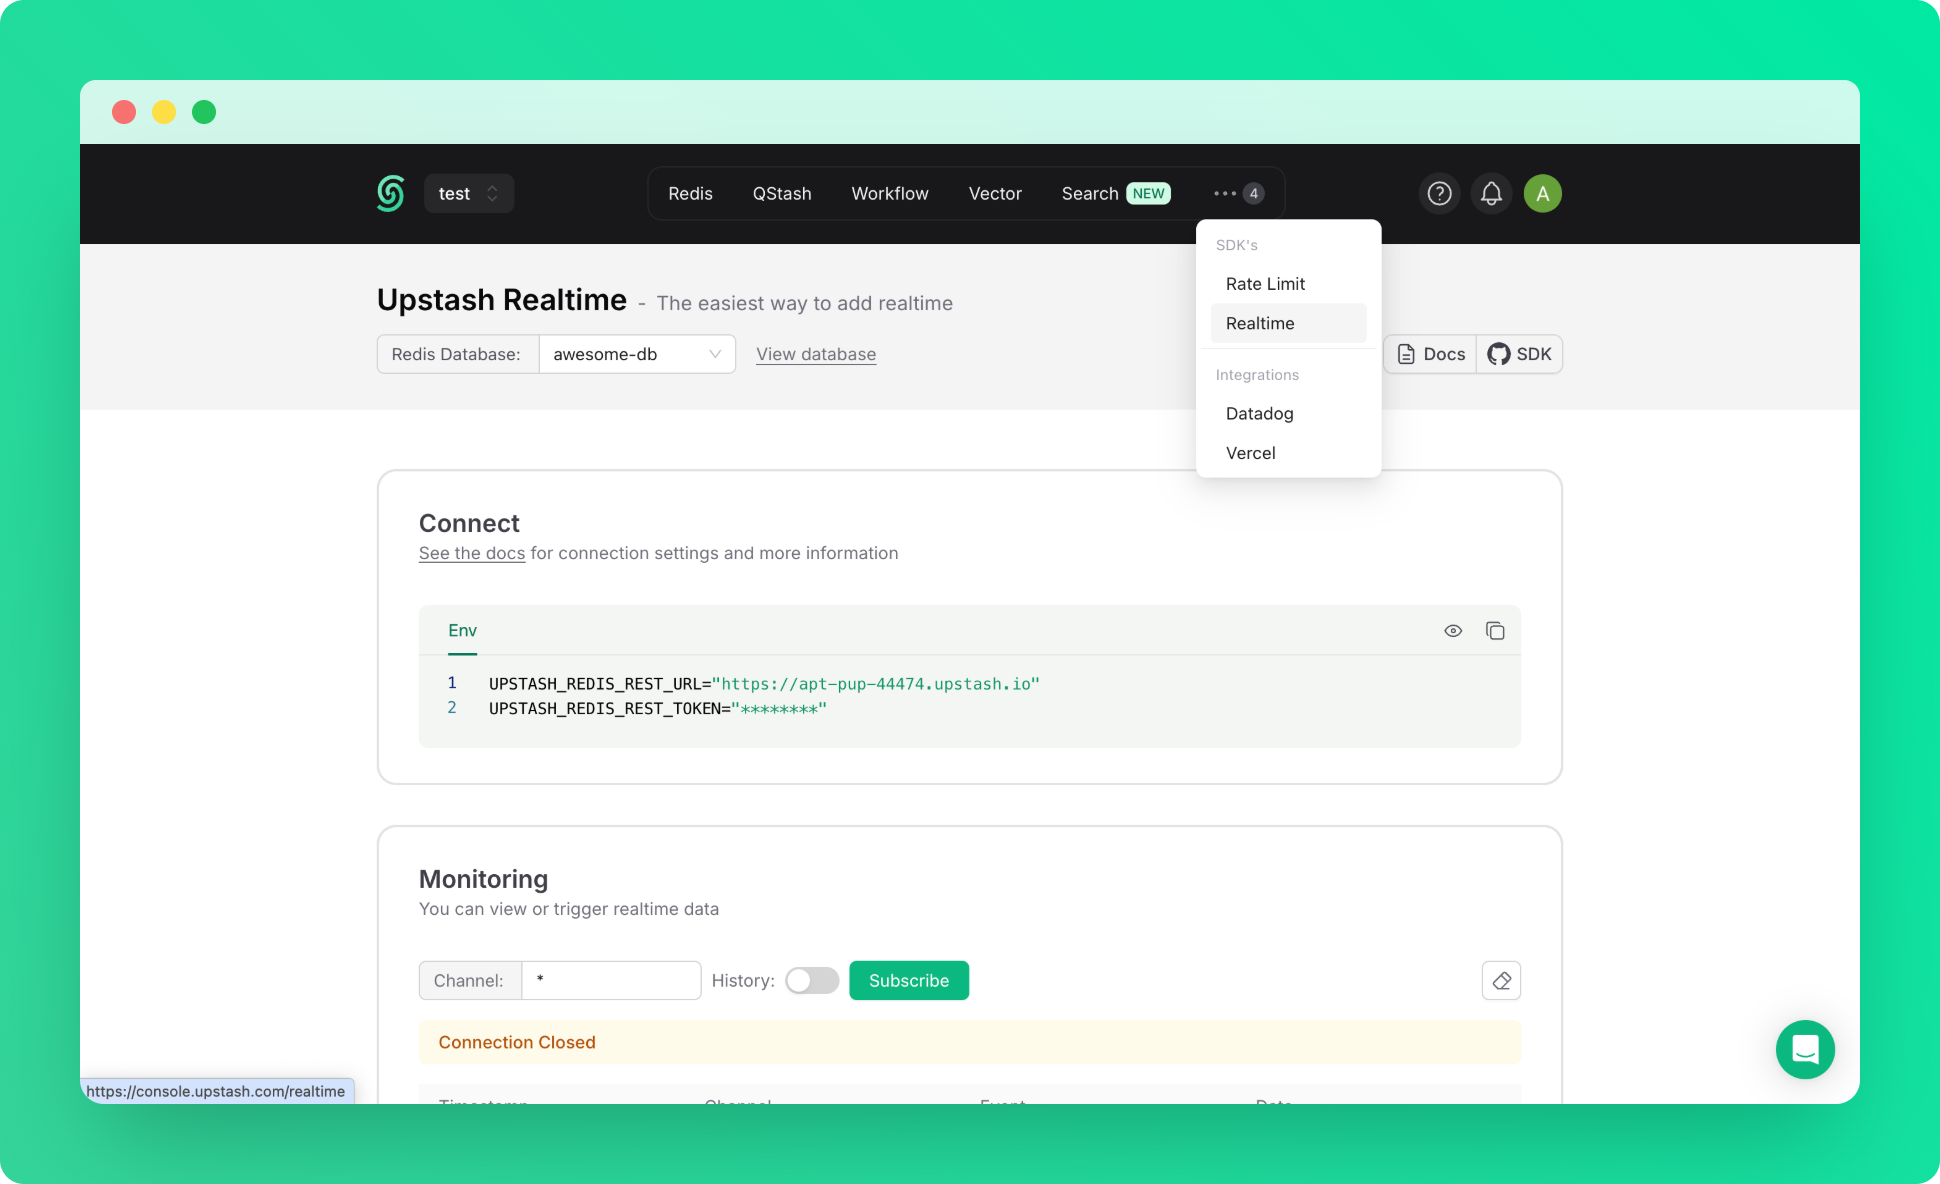
Next Steps
Client-Side Usage
Complete guide to the useRealtime hook
Server-Side Usage
Subscribe to events and stream updates on the server
Channels
Scope events to specific rooms or channels
History
Fetch and replay past messages